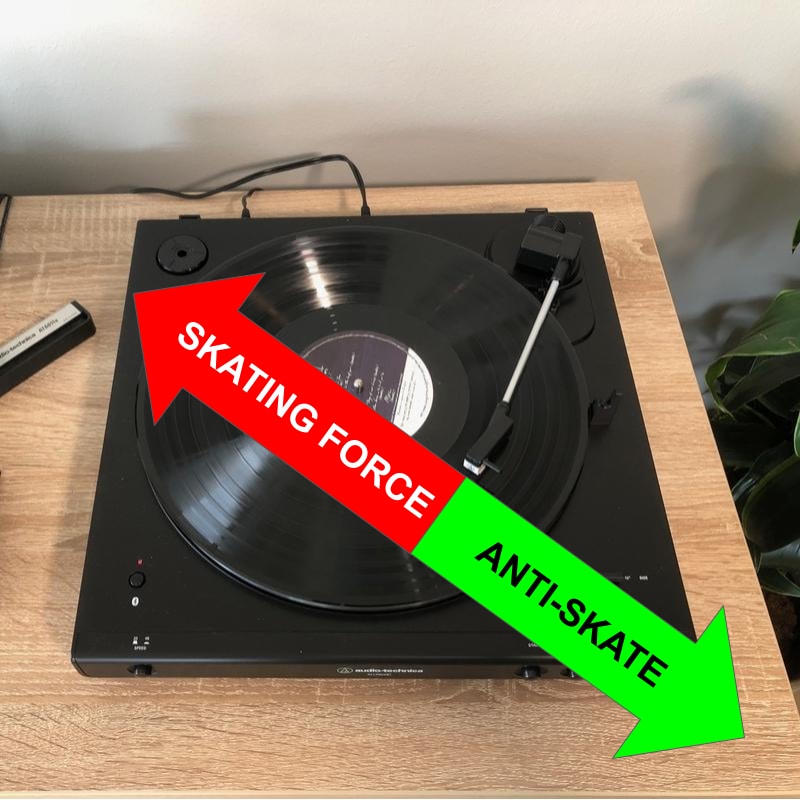
When a record is played, there is created a small force that gently pulls the tonearm towards the center of the record. This force is called skating force.
If not balanced out, this skating force will make the stylus push harder on the inner side of the grooves, resulting in channel unbalance, distortion and potentially skipping.
The force that balance out the skating force is called anti-skate.
Anti-skate force is produced by the tonearm.
When anti-skate is set correct, the stylus will stay centered in the record grooves, read both channels with equal levels and generally make the turntable sound as good as it should.
On some turntables, it is necessary to manually adjust the anti-skate. On other turntables, the anti-skate is fixed and not adjustable.
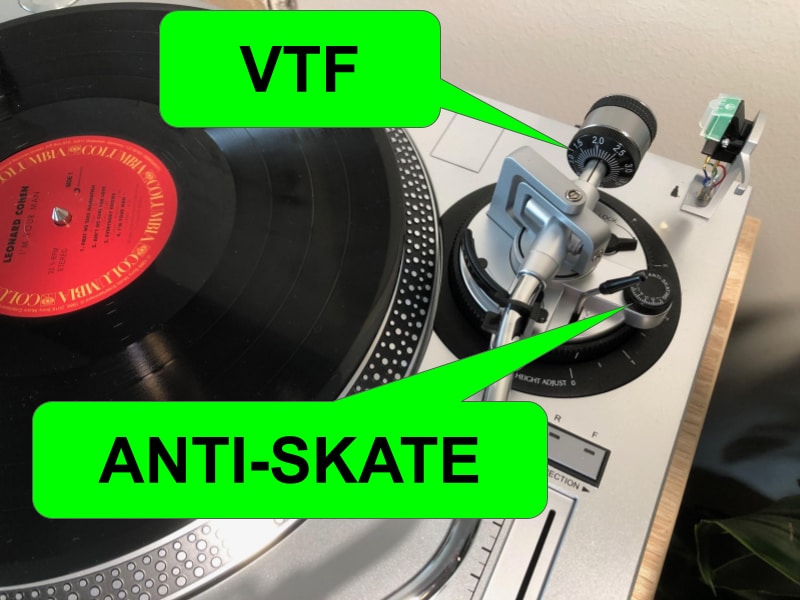
The picture below shows the tonearm on my AT-LP120USB turntable. As you can see, it has a knob to adjust anti-skate.
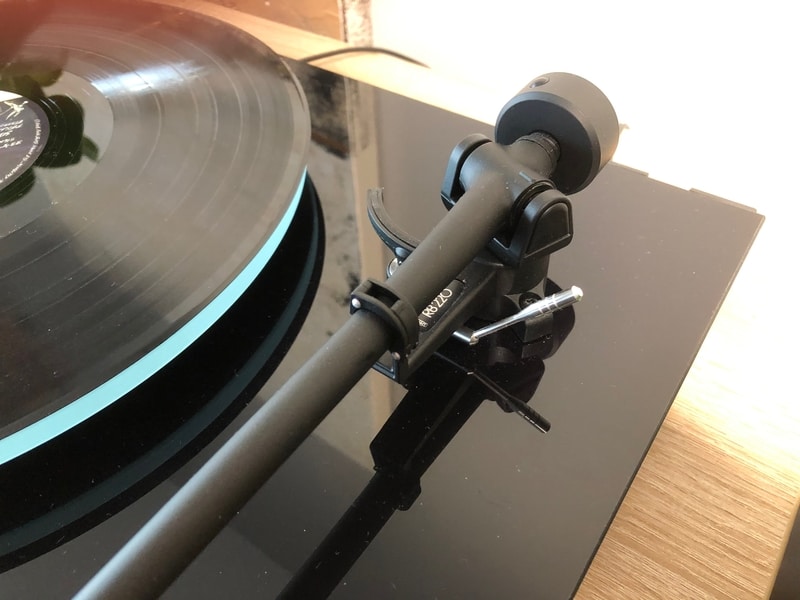
My Rega Planar 2, on the other hand, does not have adjustable anti-skate. It is fixed. As you see on the picture below, there is no knob to adjust anti-skate.
How to adjust anti-skate?
Adjusting anti-skate is usually a two-step process.
First, set the anti-skate equal to the vertical tracking force (VTF). VTF is adjusted with the counterweight on the end of the tonearm. It should be set as specified in the manual for your turntable and cartridge. It is usually around 1.8 gram.
When the anti skate is set equal to VTF, it is time to play a few records and listen for unwanted distortion and sibilance.
If there is unwanted distortion and sibilance, try to fine-tune the anti-skate until it is minimized. Also pay attention to channel differences. Try to make distortion and sibilance (if any) having equal levels in each channel.